![]()
![]()
Creating a new barcode involves three steps, which are detailed below.
This process explains how to create a new barcode and set the product relationship.
|
Step |
Action |
|
1 |
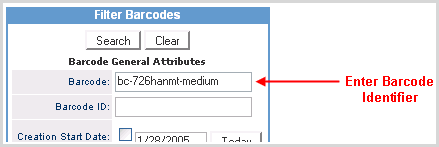
In the Barcode Manager search, enter the Barcode Identifier into the Barcode field.
|
|
2 |
Click New Barcode, located at the bottom of the Filter Barcodes box. |
|
3 |
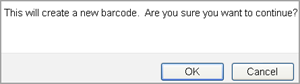
Click> OK to confirm the new barcode creation.
|
|
4 |
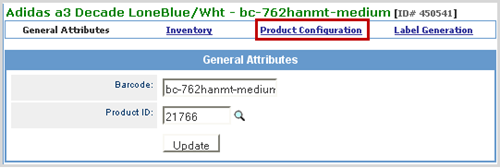
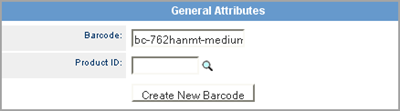
The General Attributes section enables you to modify the barcode entered in the previous step, then enter the product ID of the product to which the barcode is associated.
Bar Code -The barcode value. Product ID- The product ID of the product to which the barcode is related. |
|
5 |
Click on the Product Picker Window
|
|
6 |
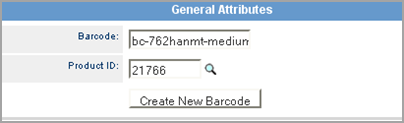
Click Create New Barcode. |
This step should only be performed if the barcode relates to a product.
l|
Step |
Action |
|
1 |
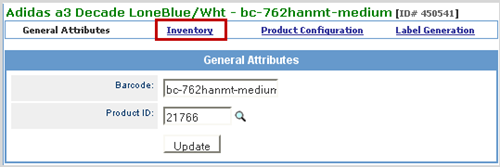
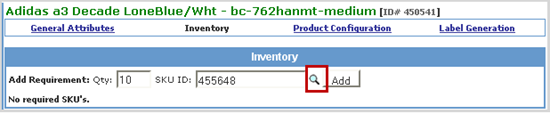
In the Barcode header, click Inventory.
|
|
2 |
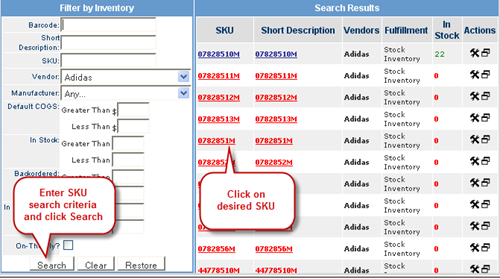
Enter the Qty and SKU ID.
Qty - The quantity of SKU related to the barcode. SKU ID - The SKU ID of the SKU related to the barcode. SKU Picker Window
|
|
3 |
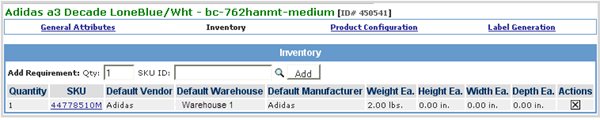
Click Add and the SKU is now related to the barcode and displays in the Inventory section with its related information.
|
|
4 |
Click on the |
This step should only be performed if the barcode relates to a Configurable product.
|
Step |
Action |
|
1 |
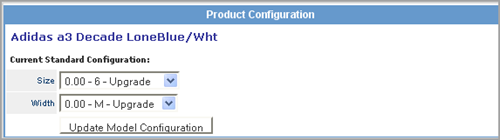
In the Barcode header, click Product Configuration.
|
| l
2 |
The Product Configuration section enables you to select a product configuration for the product associated to the barcode.
|
|
3 |
Click Update Model Configuration to save the selection. |
© 2023 CORESense · info@coresense.com · 125 High Rock Avenue, Saratoga Springs, NY 12866
 icon next to the Product ID field to open the
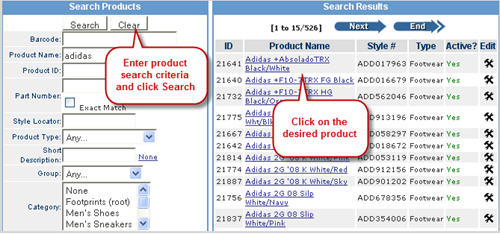
 icon to remove the associated SKU relationship.