![]()
![]()
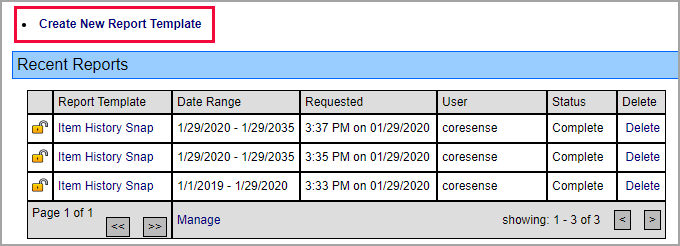
Within the Report Center, click on the Create New Report Template to initiate custom report building. The reports that you build are stored in the Report Template list for future reference and contain the following components:
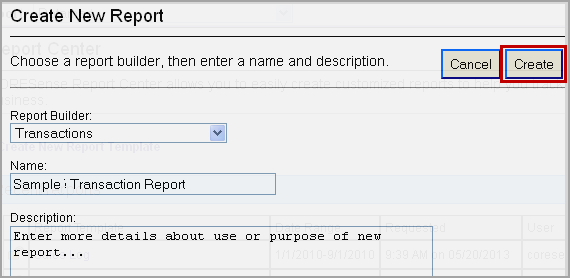
After selecting the appropriate report building cube, enter a descriptive Name for the new template and any relevant details so other users better understand its purpose.
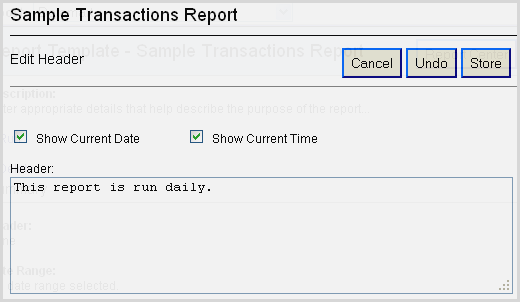
Enter any Header details for the report. You can choose to include a Date and Time stamp or enter custom text in the space provided. Click Store to save options.
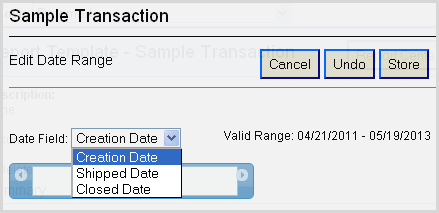
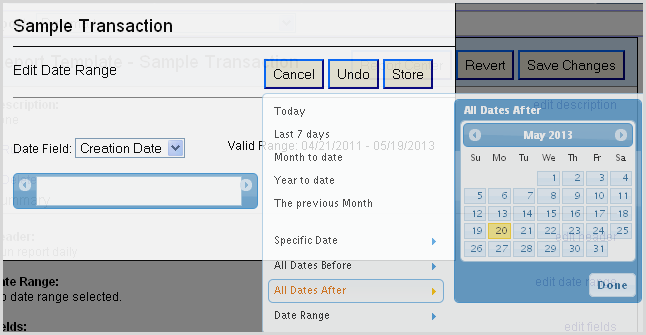
Select a Date Field option based upon the date type to be reported on. Saved date ranges need to be reset each time a report is run.
Note: When basing a report using Shipped Date, the results will include partially shipped orders which can be identified by including an Order status field for your result options.
Click in the range box to view the pre-set options or to enter specific dates.
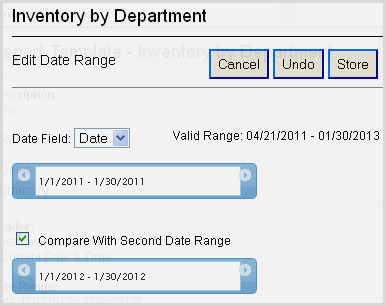
To compare data across multiple date ranges, check the box provided. Click Store to save options.
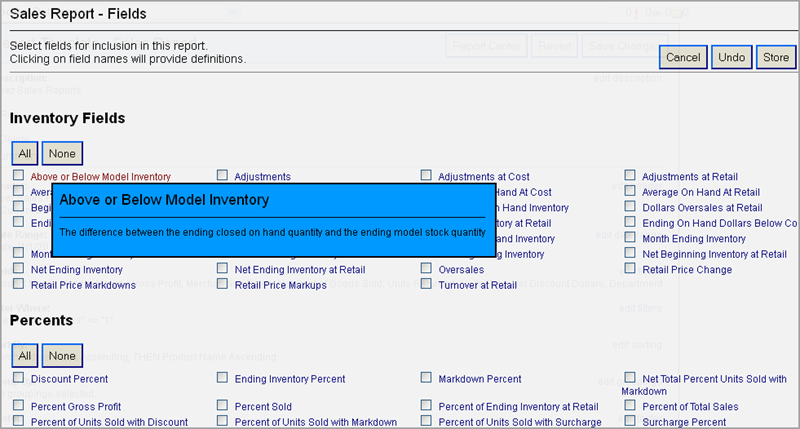
The field options are specific to the report building cube you selected.
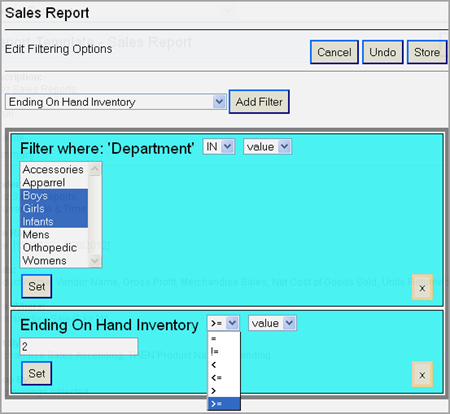
Refine your results by adding filters. Select a filter category and then choose the values associated with the filter (use CTRL for multiple selection).
Identify the sequence of sorting options of the data. Scroll through the sorting list and drag the desired options into the right-side selection box. Click Store to save options.
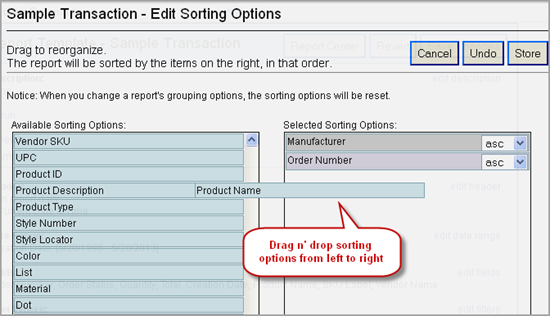
Tip: Enter your Grouping options first. Any grouping options that are selected are also added to your Sorting list. Once added, those options can only removed from the Grouping drag n' drop box. Additional sorting options can be added directly from the Sorting drag n' drop box.
Scroll through the grouping list and drag the desired options into the right-side selection box. Click Store to save options. Groupings help refine your results so that your data represents activity or sales that have occurred within a specific situation.
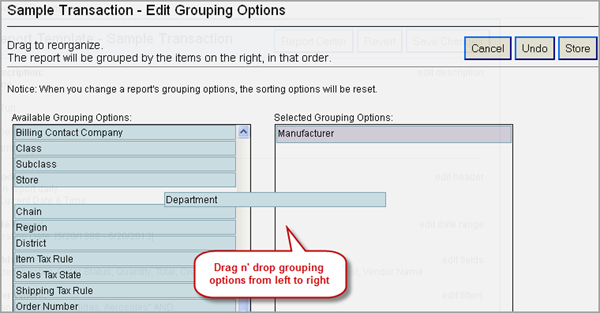
Note: Any grouping options that are selected are also added to your Sorting list. Groupings added to the Sorting list cannot be removed from the Sorting drag n' drop box; they need to be removed from the Grouping drag n' drop box.
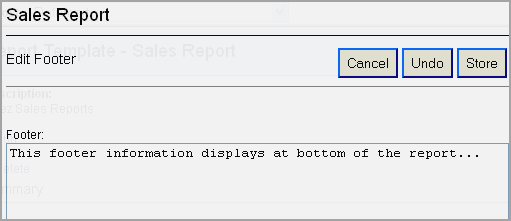
Static text can be added to the footer for display at the bottom of your report.
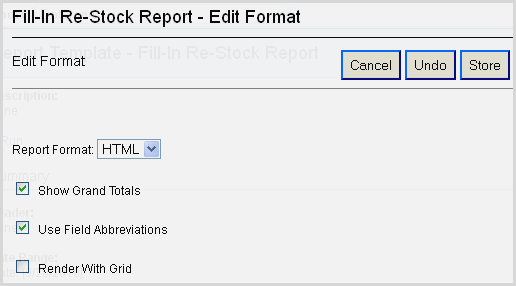
The Format section enables you to manage report layout and output type.
Reports can be viewed online in the default HTML format or be exported by selecting the CSV option. The check boxes provide options to view data with Grand Totals or using field abbreviations. The field abbreviations represent the column header labels (i.e., Order Number = Odr #). Grid product data can be rendered in HTML format only and generates a PDF, it cannot be exported in CSV. Click Store to save your changes.
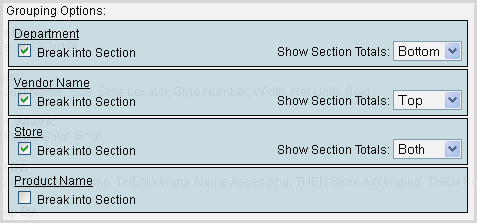
For each grouping that you setup, you have the option to organize each in its own section. There is also the choice to display section totals at either the Top, Bottom, or both Top and Bottom of each section.
Fields can be rearranged by clicking on the field name and dragging it to another position in the list.

© 2023 CORESense · info@coresense.com · 125 High Rock Avenue, Saratoga Springs, NY 12866