![]()
![]()
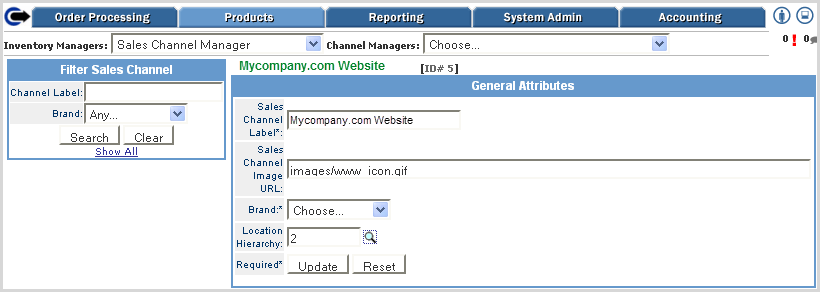
The Brand Manager allows users to manage multiple brand labels across multiple channels. Labels can be setup for each brand you have and can be unique for each channel as well. Brand Manager also provides the functionality to setup brand-specific coupon displays for Loyalty Programs. This allows you to customize coupon layouts so they reflect your desired branding.
Path: Setup > Brand Manager

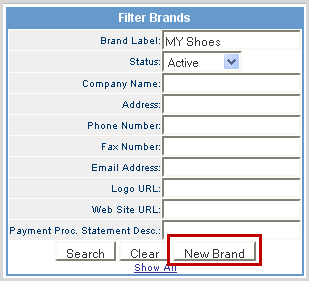
The Brand Manager screen is where you can filter your existing labels and access them to make updates.
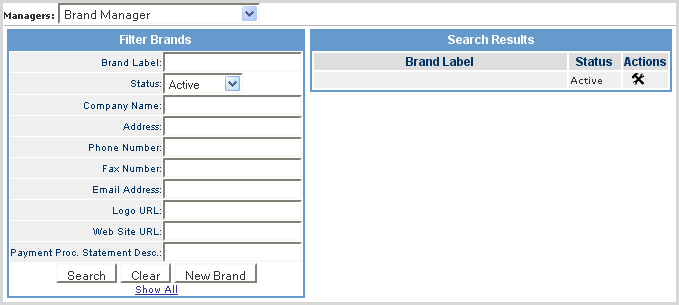
Follow the steps below to add new brand.
|
Step |
Action |
||||||||||
|
1 |
In the Filter Brands box, enter the Brand Label and click on the New Brand button.
|
||||||||||
|
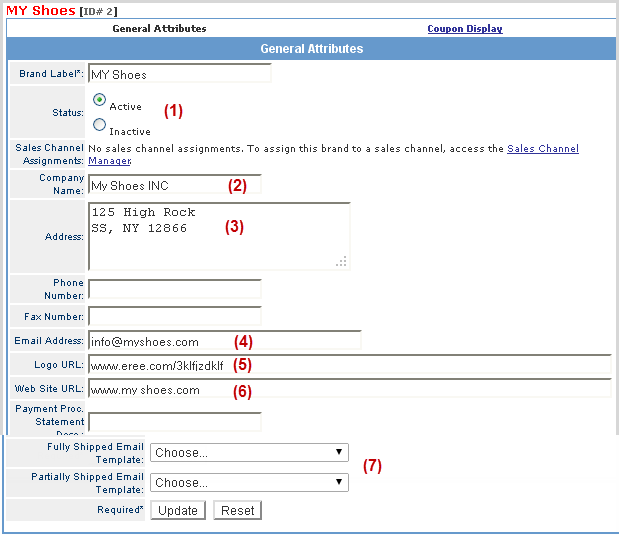
2 |
Complete the General Attributes as described below.
|
||||||||||
|
3 |
Click the Update button. |
||||||||||
|
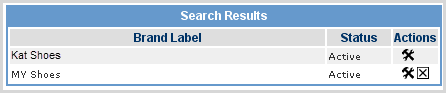
4 |
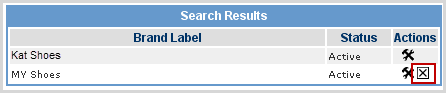
The new brand is now listed in the Search Results box.
|
||||||||||
|
5 |
To delete a Brand Label, click on the Note: The default Brand Label cannot be deleted. |
The steps below illustrate how to lay out and map your coupon image by entering the coordinates for each of the designated coupon areas. You can also identify which font style and size you want for each.
Note: These steps are necessary for any Loyalty program you create regardless of whether you use an actual coupon for reward redemption.
|
Step |
Action |
||||||||||||
|
1 |
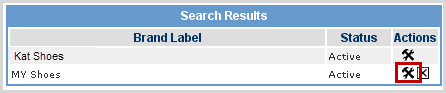
Click on the
|
||||||||||||
|
2 |
Click on the Coupon Display link.
|
||||||||||||
|
3 |
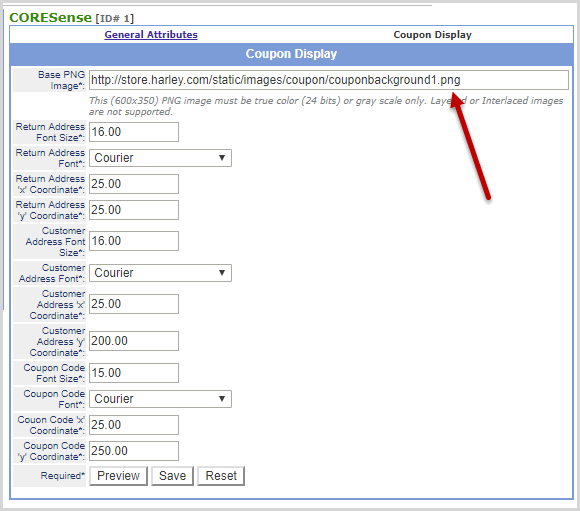
Enter all the required (*) information into the appropriate fields as detailed below. Be sure to enter the full address for the PNG in the Base PNG image field.
|
||||||||||||
|
4 |
In System Settings > Technical Configuration > Brand Coupon Info table, complete a new record as follows. This is needed to find the barcode creation file.
|
||||||||||||
|
5 |
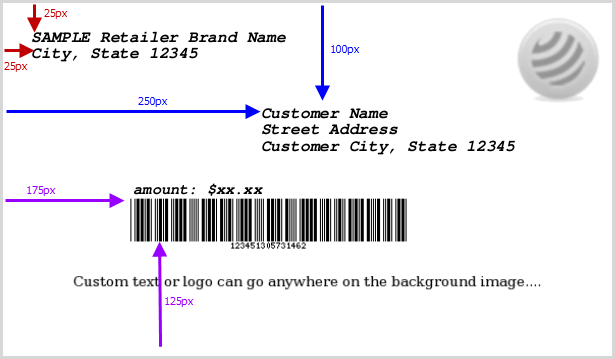
Below is a sample of the mapped X and Y coordinates for the Return Address , Customer Address , and Coupon Code information.
|
© 2023 CORESense · info@coresense.com · 125 High Rock Avenue, Saratoga Springs, NY 12866