![]()
![]()
The Geographic Location Manager allows you to create and manage information displayed by the Store Locater and Store Locations Details. These plugins allow you do display information about store or partner locations such as address, hours of operation, etc. and products offered at those locations.
The following functions are available in the Geographic Location Manager.
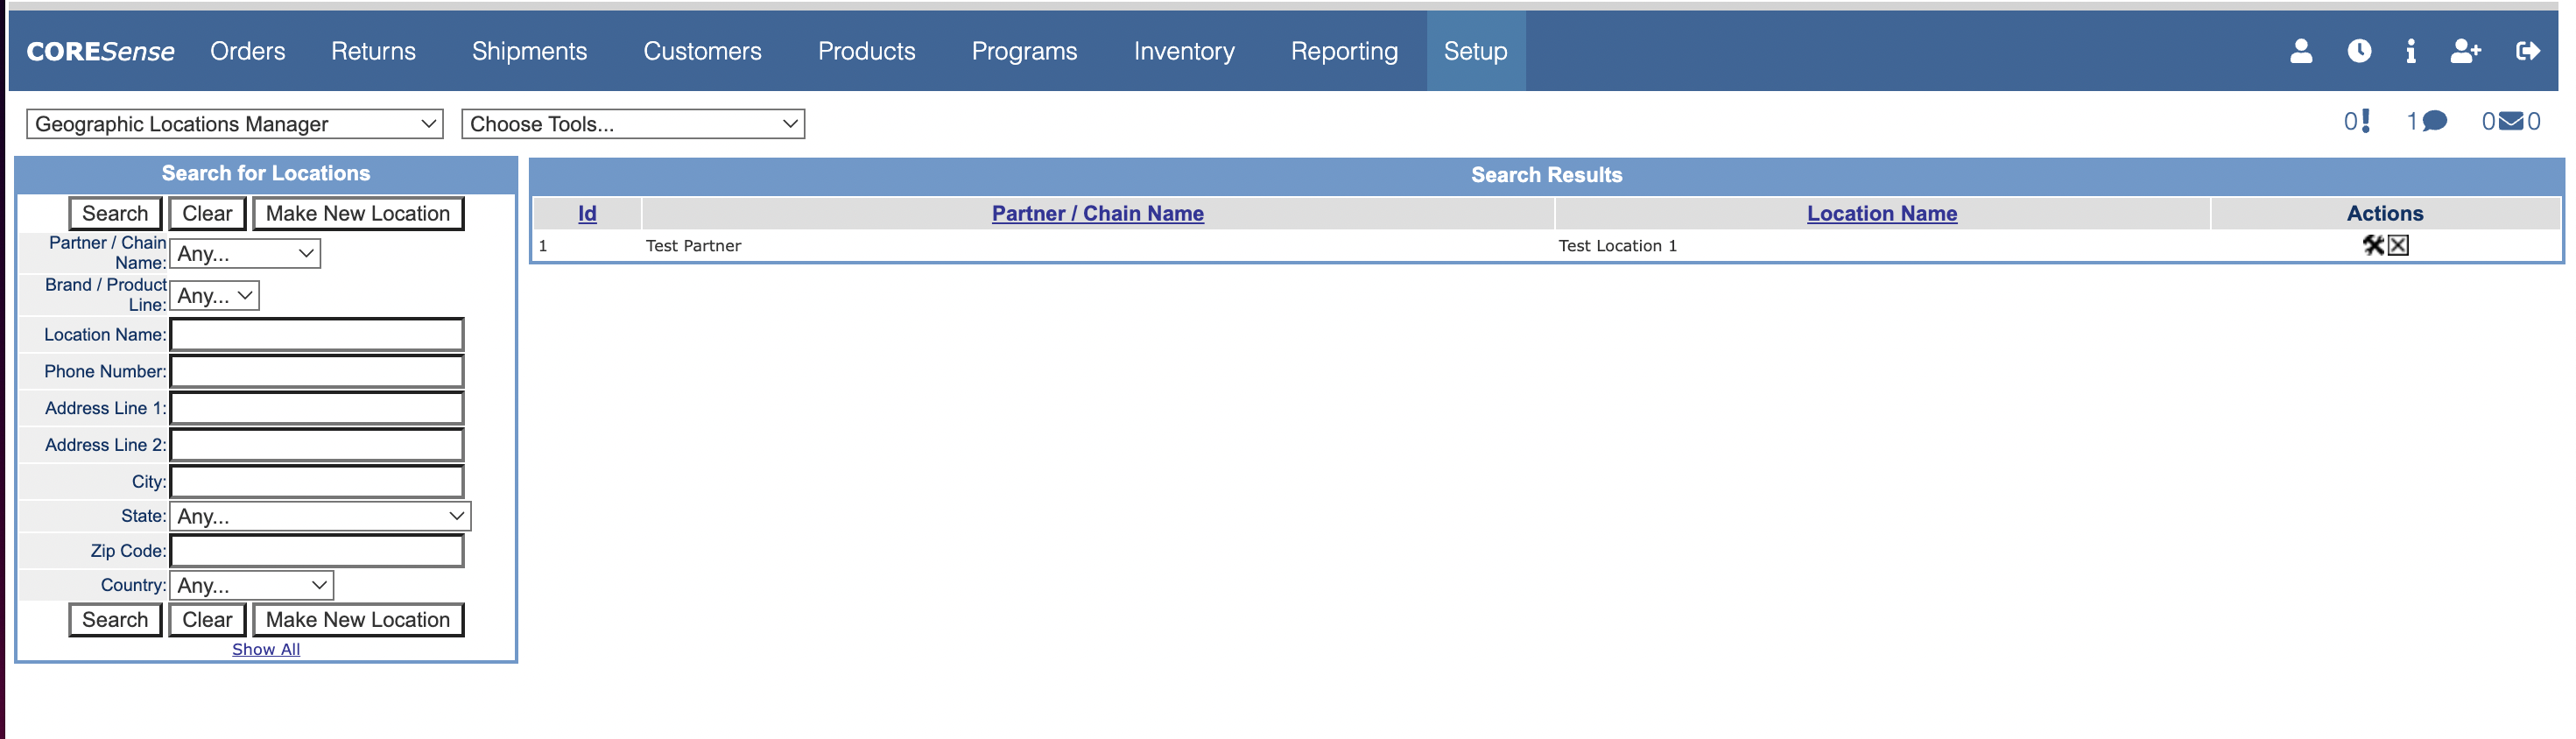
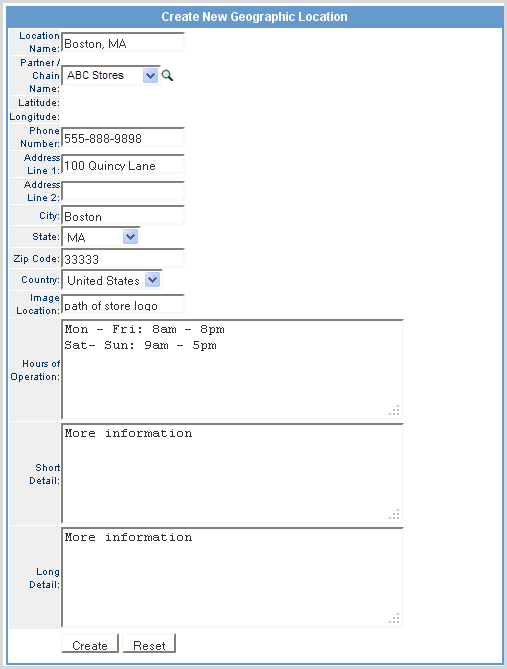
Follow the steps below to add a location to your Geographical Location Manager.
Follow the steps below to add a new brand or product line to the list of available options.
|
Step |
Action |
|
1 |
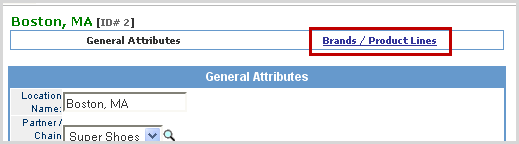
Search for a location and click on the
|
|
2 |
Click on the Brands/Products Lines link.
|
|
3 |
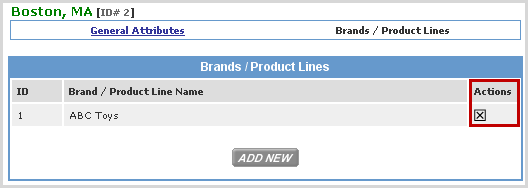
Click on the Add New button to access the list of options.
|
|
4 |
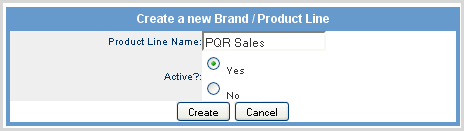
Click on the Create a New Product Line button.
|
|
5 |
Enter the label or status and click the Create button to add the product line to the drop-down list.
|
Follow the steps below to change the status of a brand or product line associated with a location.
|
Step |
Action |
|
1 |
Search for a location and click on the
|
|
2 |
Click on the Brands/Products Lines link.
|
|
3 |
Click on the Add New button to access the list of options.
|
|
4 |
Select a brand from the drop-down list and click on the Edit Product Line button.
|
|
5 |
Make the necessary changes to the label or status and click the Save Changes button.
|
© 2023 CORESense · info@coresense.com · 125 High Rock Avenue, Saratoga Springs, NY 12866