![]()
![]()
The Merchandise Hierarchy Manager allows users to fully manage their own inventory labels and content.
The CORESense system supports three levels of a Merchandise Hierarchy. It is more common that a retailer uses three levels. The title for each level is defined by the user via the Hierarchy Manager. For example, a retailer may label these as:
Merchandise Level 1 = “Department”
Merchandise Level 2 = “Class”
Merchandise Level 3 = “Sub-class”
The main components of Merchandise Hierarchy include:
Titles - The top-level names assigned to the hierarchy, typically; Department, Class, Sub-Class.
Values - The hierarchy names such as, Men’s, Women’s, or Children’s.
Products - The products that are associated with each level of the hierarchy
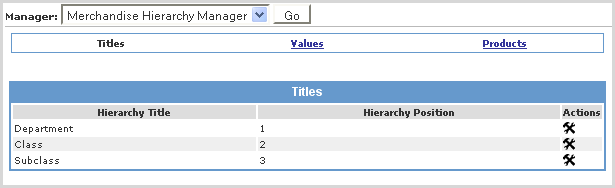
From the Titles link in the Merchandise Hierarchy Manager the names of each of the main sections of your hierarchy, and their positions within the hierarchy are displayed. In the example below, they are Department, Class and Subclass.
Department – The highest level of the hierarchy tree. Such as Shoes, or Sporting Goods.
Class – The second level of the hierarchy tree. Using Shoes as our Department, this could be Men’s Shoes and Women’s Shoes.
Subclass – The lowest level of the hierarchy tree. Using Men’s Shoes as our Class, sub-classes could be Dress Shoes, Sneakers, Sandals, etc. Sub-classes are limitless in the CORESense system. They can be as broad, or as narrow, as you want them to be.
Important: The Back Office only supports threes levels of merchandise hierarchy data even though the system enables you to add more than three.
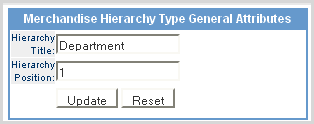
Follow the steps below to update your merchandise titles.
|
Step |
Action |
|
1 |
Click the |
|
2 |
Enter the Hierarchy Title or Hierarchy Position and click Update to save.
|
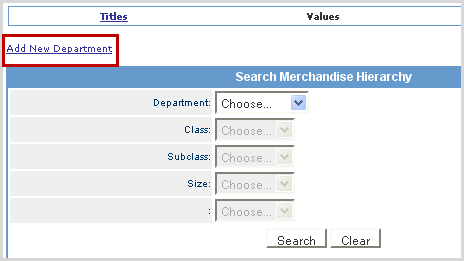
The Values link gives you access to the specific departments, classes and sub-classes that have been created within your hierarchy. You can add new departments, perform a search, or add new children values.
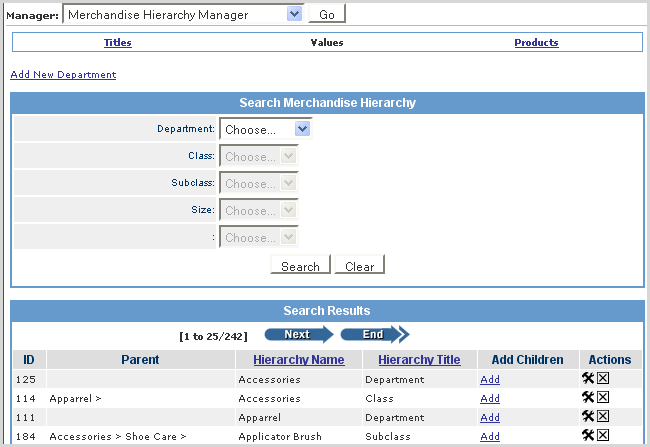
The Department is the top level of the Merchandise Hierarchy. Follow the steps below to add a new department.
|
Step |
Action |
|
1 |
Click Add New Department to create a new department.
|
|
2 |
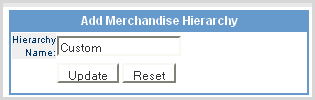
Enter the new department hierarchy name and click Update.
|
|
3 |
The new department is now part of the drop-down list.
|
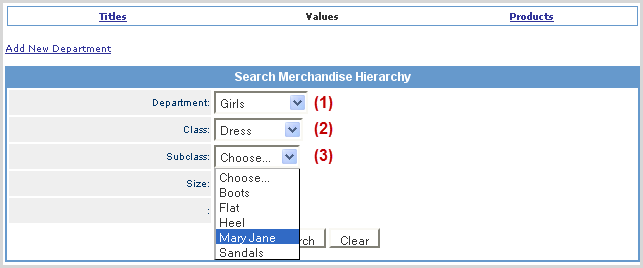
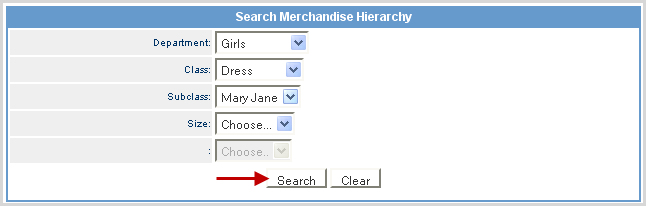
Use the search drop-down filters to retrieve results for a specific hierarchy group. Follow the example below for Girls dress shoes.
|
Step |
Action |
|
1 |
Select Girls from the Department list.
|
|
2 |
Choose the Class option of Dress. |
|
3 |
Select Mary Jane from the Subclass list. |
|
4 |
Click on Search to retrieve the results.
|
|
5 |
From the Results list, you can perform add, edit or delete actions.
|
Follow the steps below to add children values to the Hierarchy.
|
Step |
Action |
|
1 |
Find the Department you wish to add a child to using the Search function. |
|
2 |
From the Search results, click the Add link of the Hierarchy Title you want to add a child to.
|
|
3 |
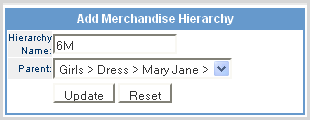
Enter a values in the Hierarchy Name field. The Parent field displays the department path the new child will be added to.
|
|
4 |
Click Update and the value of 6M is now part of the Size hierarchy type and is listed in the Search function's Size drop-down list.
|
|
5 |
Click on the |
You can assign Google Product categories from the Merchandise Hierarchy Manager. Within Merchandise Hierarchy Manager > Values > Hammer/Wrench, there is a text field for "Google Product Category" (GPC) when Google Variance Data Feed is active in the environment.
The system will manage the entries taken as follows:
When Google Variance Feed is generated, if no override value has been entered on a specific product, then the Merchandise Hierarchy of the product is used to determine the Google Produce Category.
f GPC has been specified for a Department, but no Class or Subclass, then the GPC value would cascade down to all products within that Department.
If GPC is specified for a Department and a Class, then the value would cascade down to all products within that Department and Class.
If a combination of both examples above happen, the lowest level of detail should prevail, meaning that all products in the Department would have a value of the "Department level" setting, except for those within the Class that had its own setting, which would receive that value.
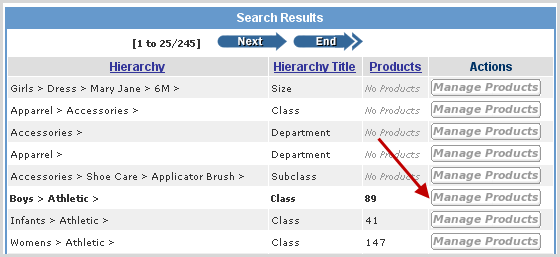
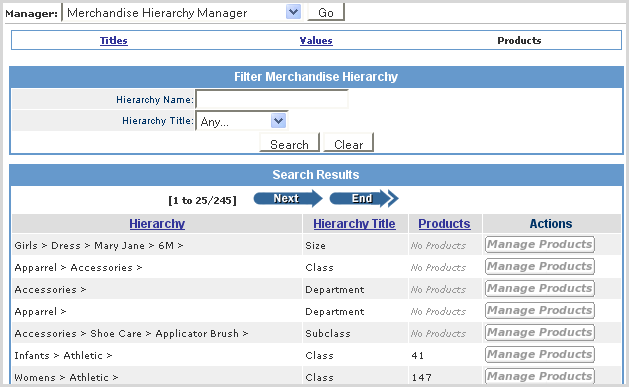
The Products link gives you access to filter your products by Department, Class or Sub-Class. You can also see how many products are associated with each level of your Hierarchy, and can use the Manage Products buttons to add or delete products from the Hierarchy.
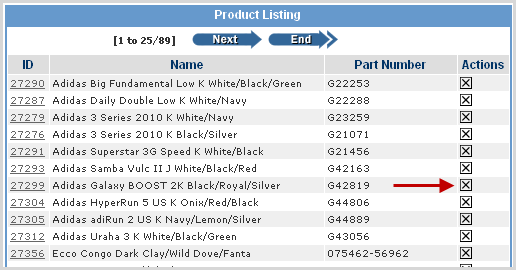
The manage Products screen is where you are able to see all the products listed within a Hierarchy level. You can delete a product and add products individually or in bulk, as needed. Follow the steps below to delete or add a product.
|
Step |
Action |
|
1 |
Click on the Manage Products button of the hierarchy level you want to edit. |
|
2 |
To delete a product from the hierarchy, click on the
|
|
3 |
The system prompts you to confirm the deletion. Click OK.
|
|
4 |
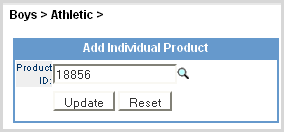
To add a product to a hierarchy, click on the
|
|
5 |
Click Update to add the product to the Product Listing for that hierarchy level. |
|
6 |
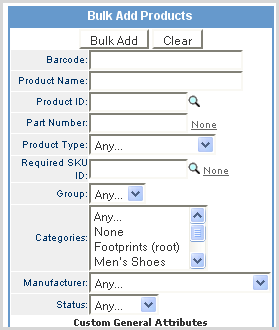
To add large groups of products to various levels of the Hierarchy, use the Bulk Add Products functionality.
|
|
7 |
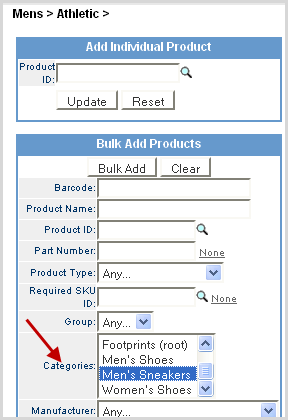
In the Categories field, select the category you wish to add to the Hierarchy. All available products within that category are automatically added to that level. You will be able to see that when you return to the main ‘Products’ screen
|
|
8 |
Click the Bulk Add button and the additions are viewable when you return to the main Product screen.
|
© 2023 CORESense · info@coresense.com · 125 High Rock Avenue, Saratoga Springs, NY 12866