![]()
![]()
These are instructions for installing the POS software from drive on which you have burned the provide Installation ISO (ISO) file. The ISO file can be access via FTP connection to your server. We recommend using Rufus to burn the ISO onto the thumb-drive.
This ISO is an enhanced configuration of a basic Ubuntu installer that is intended to format the computer, install the base operating system version that CORESense POS needs, and a enable a temporary VPN connection back to CORESense. After this boot-strap installation, CORESense Hosting (hosting@coresense.com) can complete the POS install process through a remote session resulting in a fully operational POS.
Installation process:
| Step | Action |
|
1 |
Set up the computer you want to use as a POS. Connect the Ethernet port to a connection that has Internet access. The network needs to be DHCP enabled. If this is an older version POS, ensure all data on it is no longer needed. Fully close the register and log out before shutting it down. For the first stage of installation, please do not connect any extra USB peripherals printers, card readers, touch screens, etc.. Only connect a keyboard and the Thumb drive installer. |
|
2 |
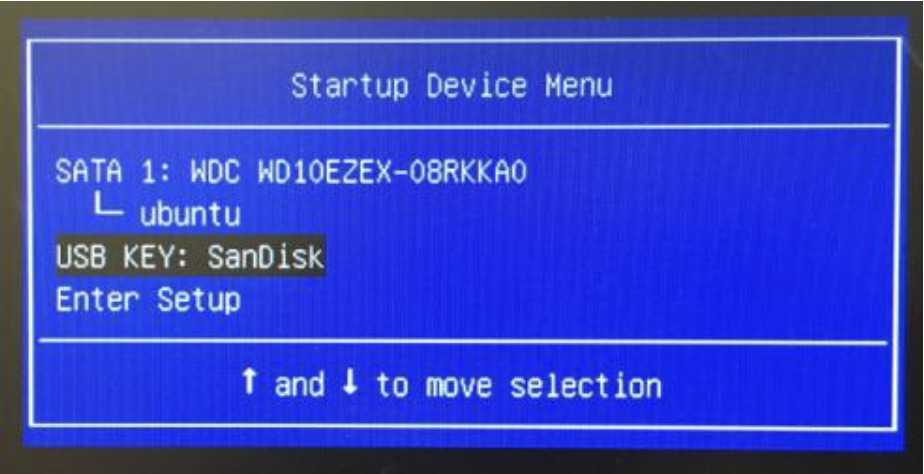
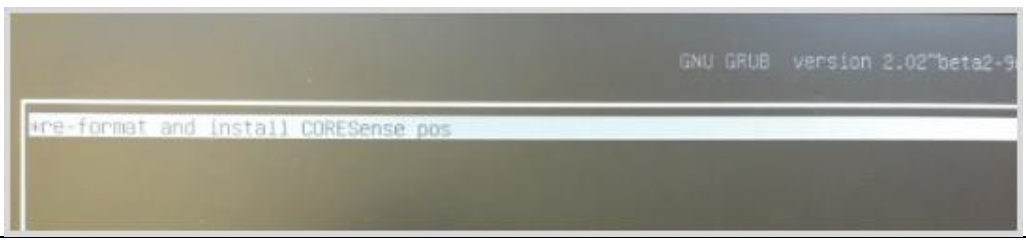
Insert the CORESense thumb drive. Power on the computer and make it boot off the thumb drive. Depending on the manufacturer, you may need to press a special key during power on to choose alternate startup devices. On a Lenovo PC, this is typically a F12 press while the ‘Lenovo’ logo is on the screen. On an HP Computer this can be 'F1' followed by a selection of "Boot Menu" from the Startup Menu. Choose the thumb drive, or USB key, as the boot device as in the following screenshot. On other hardware it may be called "General UDisk". If it is not an option at first, power down and try moving the thumb drive installer to different USB ports in the computer.
Note: This screen can look different per computer and manufacturer.
WARNING: This will reformat the computer without asking and overwrite any data stored there. See Step 1.
|
| 3 |
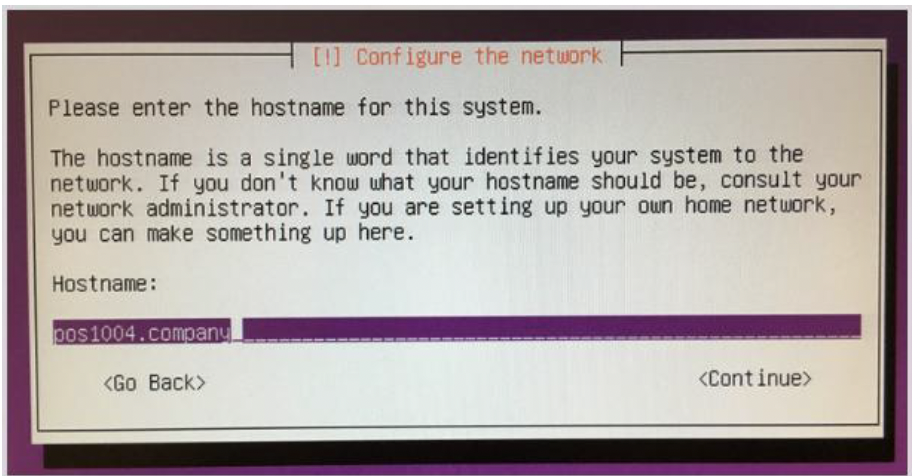
You will be prompted to enter the hostname for this system. Backspace over the default “ubuntu” value and populate the field with a pos<id>.<companyname> value relevant for you. Copy the same format as illustrated in this screenshot, but substitute your intended POS id, and use your company name (no spaces or special characters). Please include your company name in the identifier as this field becomes a marker for a CORESense employee to identify this computer on the temporary VPN network to finish the second half of the install.
|
| 4 |
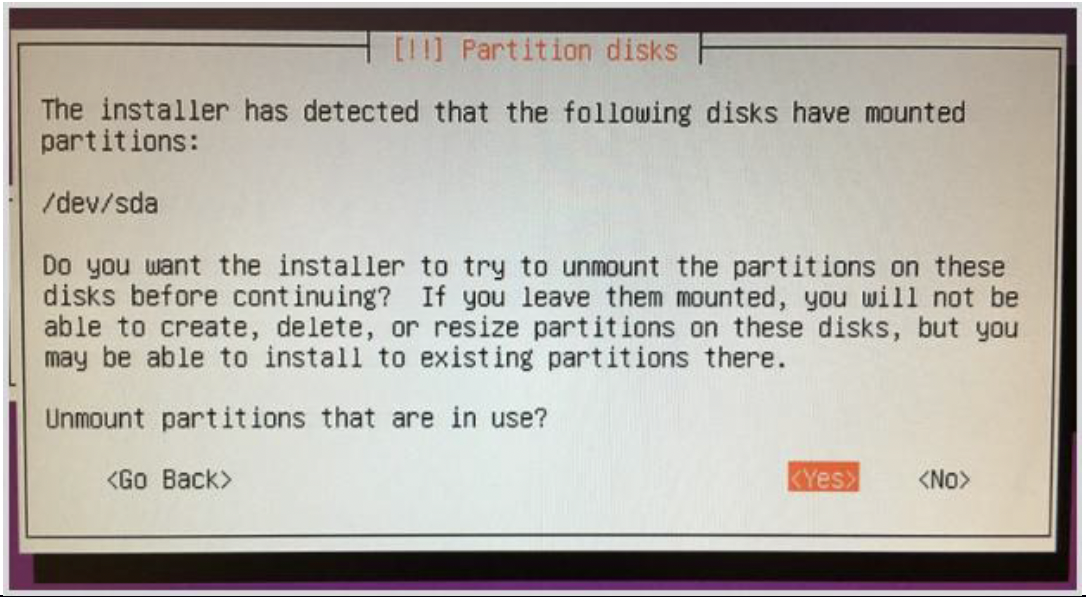
Depending on existing disk partitioning, you may be presented with the following question. If so, choose “yes” and continue steps.
|
| 5 |
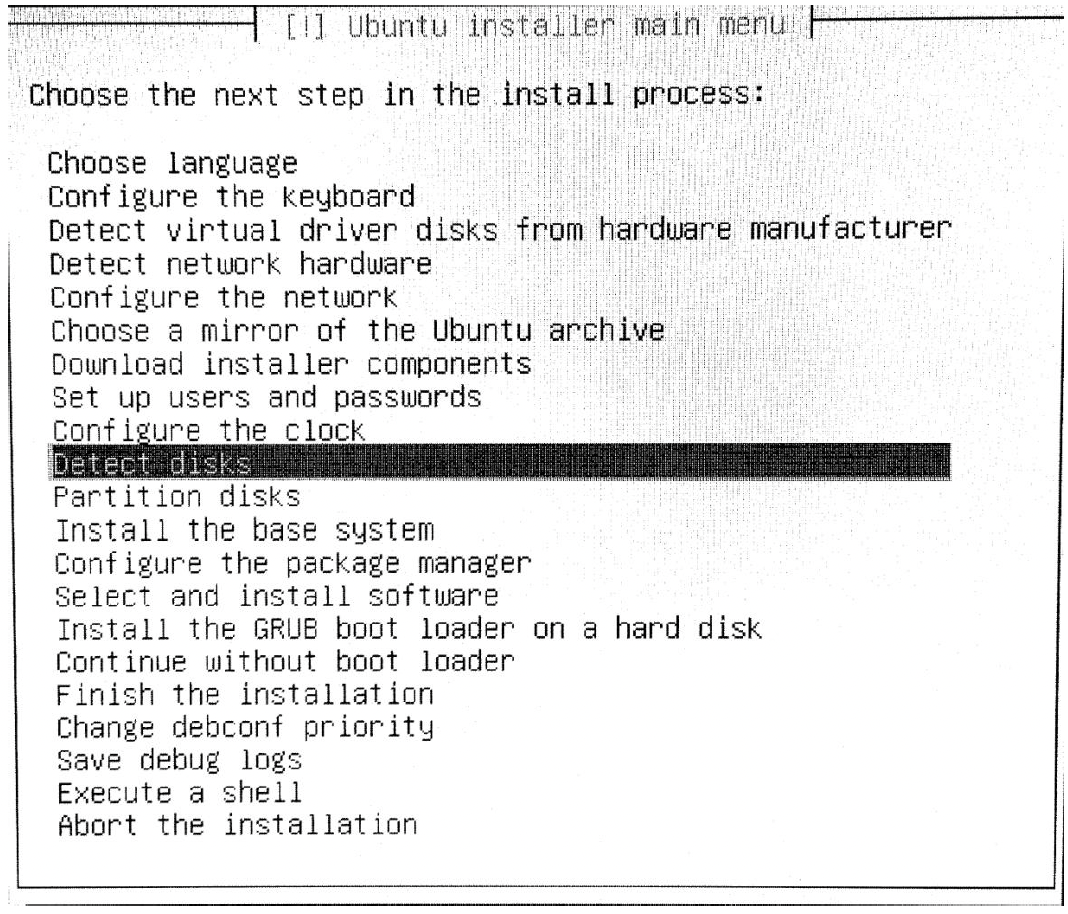
Depending on existing disk partitioning, you may be presented with the following question. If so, choose “Go Back”. This is important. If you answer “No” (or “Yes”) here, the finished POS will not be correctly installed.
After you select “Go Back” you should see a screen like the following. Move up one to Choose “Detect Disks”.
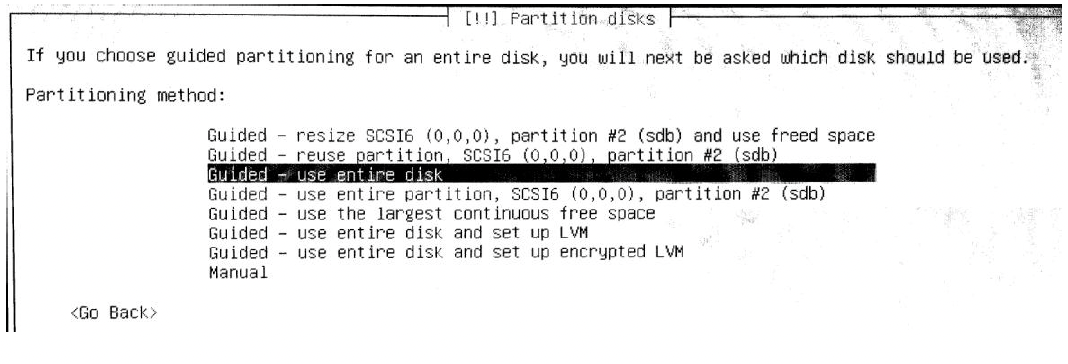
Then choose “Guided – use entire disk”
|
| 6 |
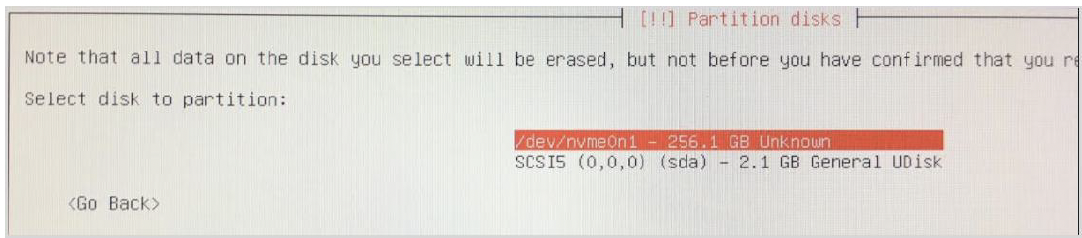
You will be asked to 'Select disk to partition'. This varies per hardware but is usually a hard drive or nvme SSD device. Do NOT chose the installer thumb drive itself, which usually has the name 'General Udisk' otherwise the thumb drive will be erroneously overwritten.
|
| 7 |
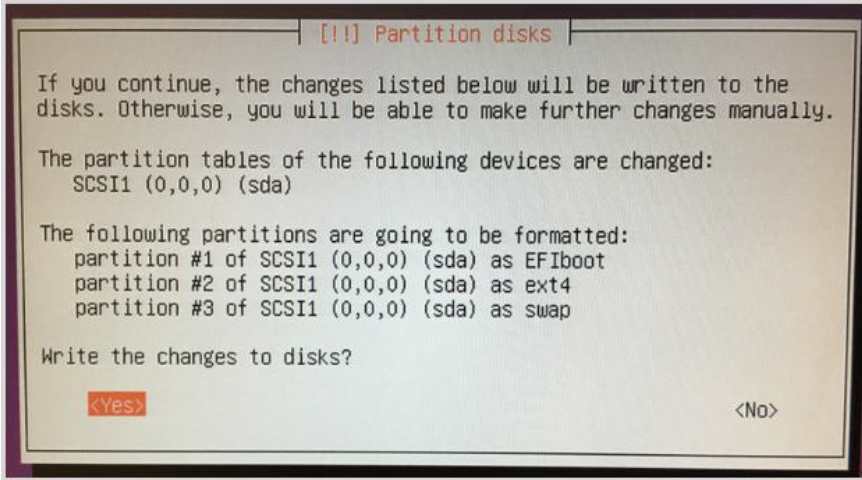
Depending on existing disk partitioning, you may be presented with a screen similar to the following in which you are asked to confirm “Write changes to disk.” The screen you see may differ from this screen shot depending on your hardware and bios. You should choose “yes” and hit -Enter-. |
| 8 |
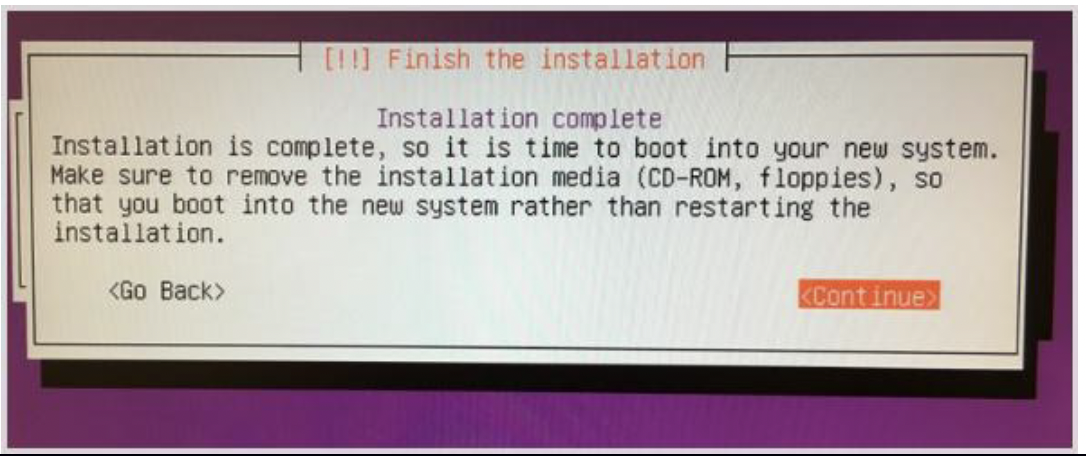
The installer should run for a few minutes to install the OS, and when complete present you with the following screen at which point you can remove the CORESense thumb drive, connect all the normal USB peripherals and press -Enter- to reboot into your new POS.
|
| 9 |
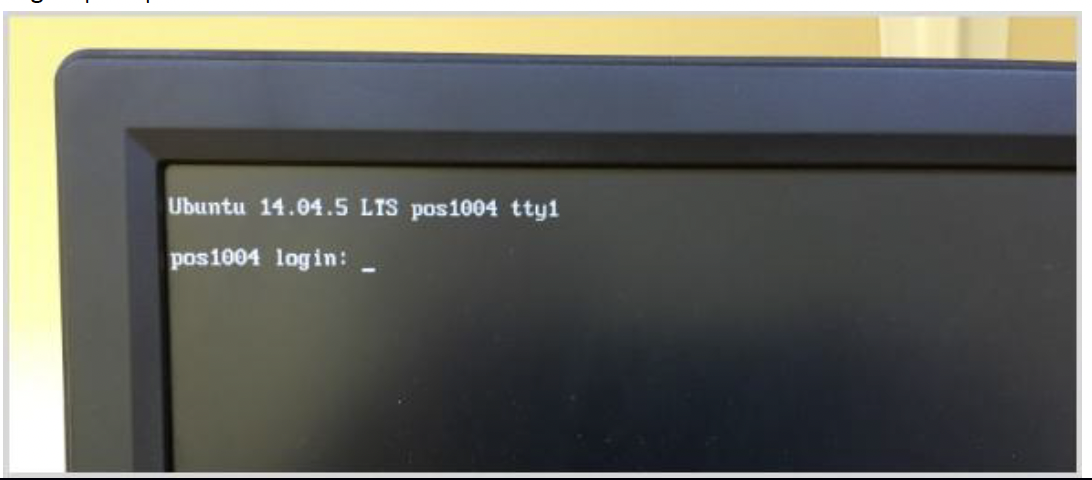
If the first reboot was not successful and you see an error similar to "cannot find an operating system", one thing to try is to boot into the 'F1' bios settings, and choose 'F9' to restore defaults, save settings and reboot again. When this process is complete, the computer should boot up and come to a screen showing a 'login:' prompt.
|
| 10 |
Contact CORESense to let them know that a point of sale with the hostname that you specified in Step 5 is now on line and ready for final installation. |
© 2023 CORESense · info@coresense.com · 125 High Rock Avenue, Saratoga Springs, NY 12866