![]()
![]()
Once new SKUs are created, a relationship between the product and the newly created SKUs needs to be established.
Note: The process detailed below is for non-grid products. For instruction on grid-based products, review the Grid Product Configuration section.
SKUs can be assigned to products that are:
|
Inventory Type |
Example |
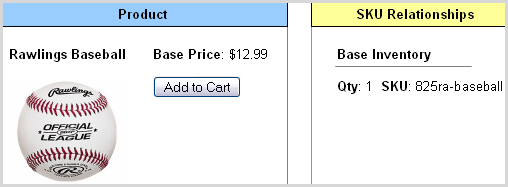
| Base Inventory |
|
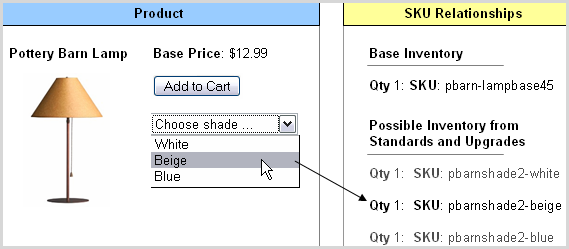
| Possible Inventory from Standards & Upgrades |
|
| A combination of Base and Possible Inventory |
|
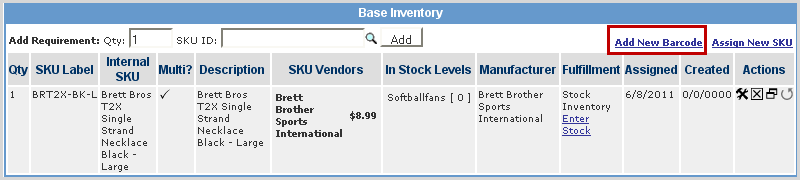
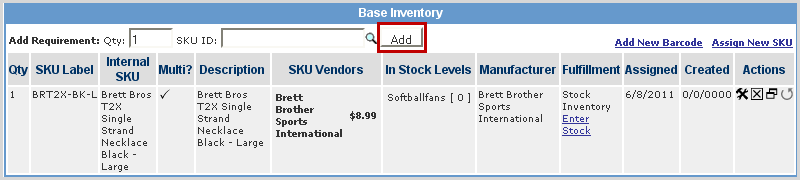
The following information is displayed for each SKU related as Base Inventory.

|
Field |
Description |
|
Qty |
The quantity of SKU sold when the product is purchased. This number does not in any way represent the SKU inventory level. |
|
SKU |
The product SKU |
|
Short Description |
Short product description |
|
Multi? |
A checkmark is displayed if the SKU is related to any other products. |
|
Description |
Long product description, up to 255 characters |
|
SKU Vendors |
All vendors from which the SKU is purchased. For each vendor, the default unit cost is displayed. The default vendor is bolded. |
|
In Stock levels |
The In Stock inventory level for each warehouse. |
|
Manufacturer |
The SKU manufacturer. |
|
Fulfillment |
The SKU default fulfillment method. |
|
Assigned |
The date on which the SKU was related to the product. |
|
Created |
The date on which the SKU was created. |
|
Actions |
Delete, Edit, Duplicate or Increase quantity of a SKU. |
Follow the steps below to relate a SKU as base inventory.
|
Step |
Action |
|
1 |
From the Product Manager screen, click on the Inventory link. |
|
2 |
Enter the Qty of the SKU to be required to be included in the product. Typically it is (1) but multiples are possible.
|
|
3 |
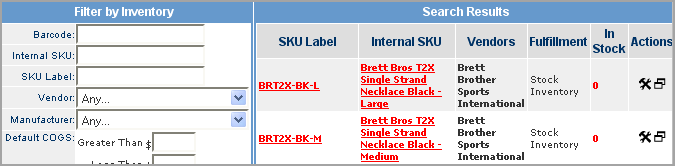
Enter the SKU ID of the related SKU. If you do not know the SKU ID, use the SKU Picker
|
|
4 |
By clicking the
|
|
5 |
Click Add and the SKU is now related to the product and displays in the Base Inventory section.
|
|
6 |
Under the Actions column you can Remove a SKU ( Duplicate it( |
|
7 |
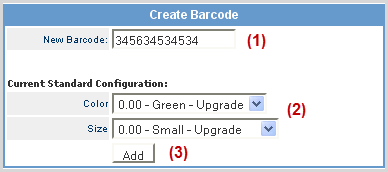
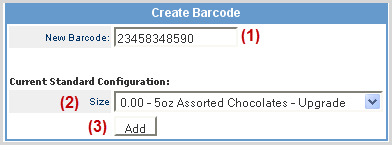
Click Add New Barcode, located at the upper right-hand corner of the Base Inventory section.
|
|
8 |
Complete the steps below to add barcode details to the base inventory.
|
The following information is displayed for each SKU related as Possible Inventory.

|
Field |
Description |
|
Qty |
The quantity of SKU sold when the product is purchased. This number does not in any way represent the SKU inventory level. |
|
SKU |
The product SKU. |
|
Short Description |
Short product description |
|
Multi? |
A checkmark is displayed if the SKU is related to any other products. |
|
SKU Vendors |
All vendors from which the SKU is purchased. For each vendor, the default unit cost is displayed. The default vendor is bolded. |
|
In Stock levels |
The In Stock i nventory level for each warehouse. |
|
Manufacturer |
The SKU manufacturer. |
|
Fulfillment |
The SKU default fulfillment method. |
|
Assigned |
The date on which the SKU was related to the product. |
|
Actions |
Delete, Edit, Duplicate or Increase quantity of a SKU. |
|
Step |
Action |
|
1 |
From the Product Manager screen, click on the Inventory link. |
|
2 |
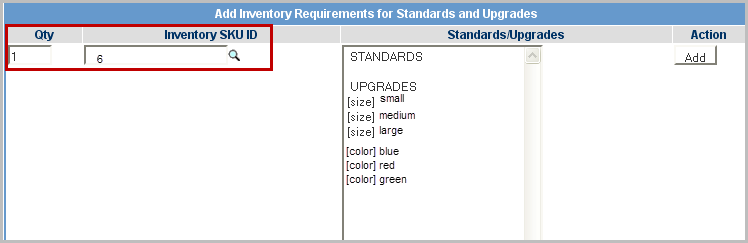
From the Possible Inventory from Standards and Upgrades box, click on the Add Inventory Requirements link.
|
|
3 |
Enter the SKU ID of the related SKU. If you do not know the SKU ID, use the SKU Picker
|
|
4 |
By clicking the
|
|
5 |
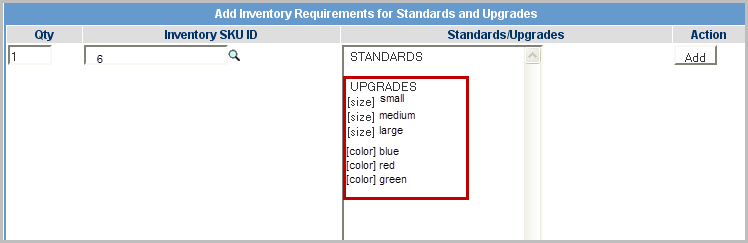
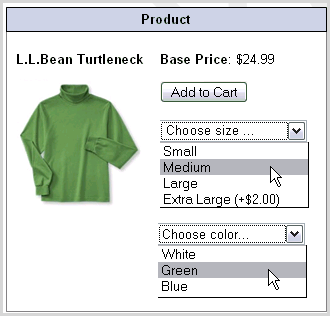
Click on the Upgrades (configuration values) that are to be associated with the SKU. Hold the <Crtl> key to select multiple types if they are available. Ideally, one option from each configuration type is selected. By doing so, the combination connects to a single SKU. For example, the Medium size and Green color points to a single SKU for the product.
|
|
6 |
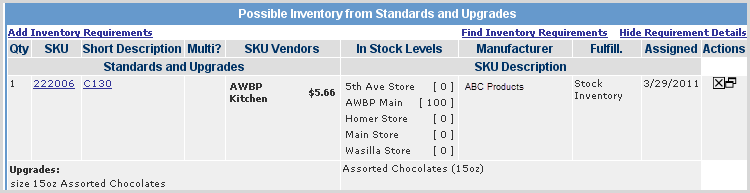
Click Add and the SKU is now related to the product and displays in the Possible Inventory section. |
|
7 |
Under the Actions column you can Remove a SKU ( |
|
8 |
To view the configurations to which the SKU is related, click Show Requirement Details, located at the upper right-hand corner.
|
|
9 |
The Possible Inventory from Standards and Upgrades section now displays the Standards and Upgrades, and Description for each SKU. At this point the link toggles to Hide Requirement Details in order to easily back out of the detail screen.
|
|
10 |
Click Add New Barcode, located at the upper right-hand corner of the Base Inventory section.
|
|
11 |
Complete the steps below to add barcode details to the base inventory.
|
|
Step |
Action |
|
1 |
From the Product Manager screen, click on the Inventory link. |
|
2 |
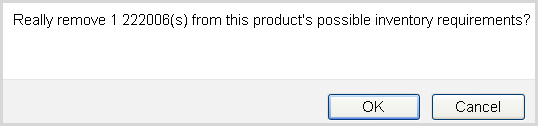
To remove a SKU, under the Action column, click on the
|
|
3 |
The system prompts you to confirm the action. Click OK to continue.
|
|
4 |
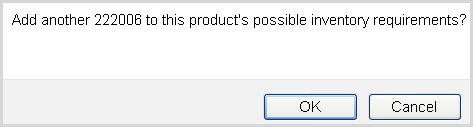
To increase the SKU quantity by one (1), under the Action column, click on
|
|
5 |
The system prompts you to confirm the action. Click OK to continue.
|
© 2023 CORESense · info@coresense.com · 125 High Rock Avenue, Saratoga Springs, NY 12866


 icon).