![]()
![]()
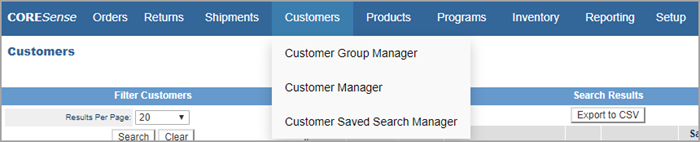
The Customer Manager houses all of the customer records in the application. If the customer was created in the Sales Order Interface, the Point of Sale or any other sales channel, the record lives in the Customer Manager. The customer record is a record with one or many contacts attached. A contact is an address that was used for either billing or shipping purposes.
Important: Before creating a new customer record, a search should be conducted to avoid duplicate records. To help manage duplications, set your system setting for Customer Management > Duplicate Customer Check Fields. This allows you to select customer data field as a verification against duplicate names. It is recommended that you select either a telephone number and/or email address as the unique identifier. This setting works in the SOI, POS and Back Office.
The Customer Manager main screen is divided into two parts: Filter Customers and Search Results. The records displayed in the Search Results area reflect the most recent search that was conducted.

Criteria used to conduct the most recent search is retained in the Filter Customers area until all criteria is removed using the Clear button. To retrieve all customer records, click Clear to remove any search criteria and then click Search. This action returns all customer records that are in the system. You can also setup saved searches in the Customer Saved Search manager.
The Search Results box, by default, displays the first 25 customer records found in the last search conducted. The number of records shown per page can be modified by selecting a value in the Results per Page drop-down under the Filters box. The system displays up to a maximum of 500 customer records per page.
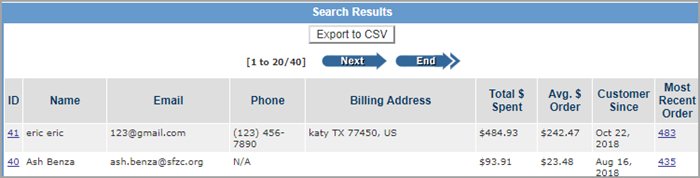
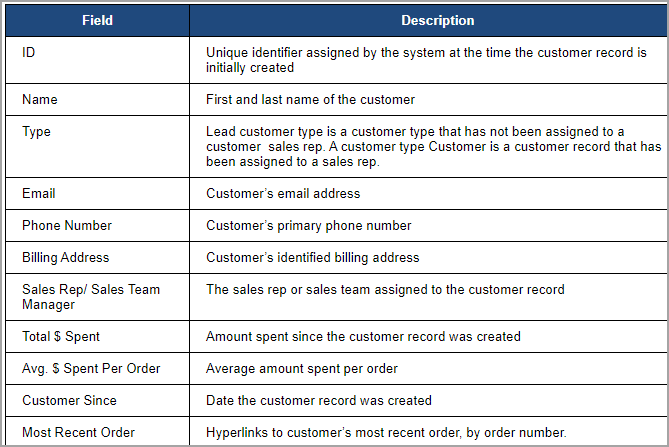
The information displayed in the Search Results window includes basic customer information, as well as some data specific to the customer’s order and spending history.
In the image below, the total number of customers meeting the entered criteria is 16,920. To navigate through the pages, click the Next arrow button. The arrow buttons appear at the bottom of the Search Results screen as well. To go to the second page, click Next.
On the second page, the arrow buttons change slightly. The navigation buttons available remain the same until the last page of the results.

To export the search results to a Comma Separated Values (CSV) file, click Export to CSV button. The system automatically creates an Excel spreadsheet that is available in the Report Center.
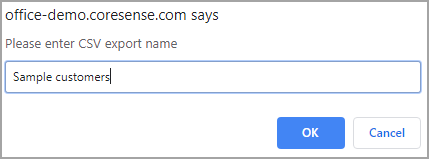
Enter a name for your customer export.
Click OK and retrieve your report in the Report Center.
© 2023 CORESense · info@coresense.com · 125 High Rock Avenue, Saratoga Springs, NY 12866