![]()
![]()
This section explains how to manually modify specific SKU inventory levels including the In Stock, Backordered, Assigned, and Reservedinventory levels.
From the Inventory search results display there are two methods to adjust In Stock quantities.

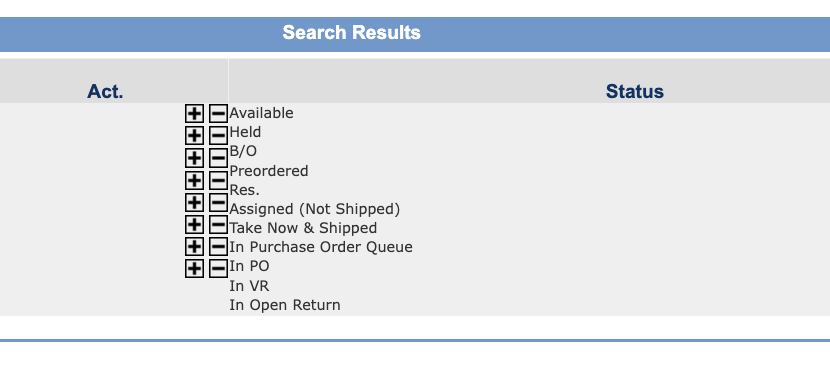
One method to add/remove SKU quantities is using the plus (+) and minus (-) signs in the SKU search results in the Inventory Manager. Clicking either the plus (+) or minus (-) sign available next to the QTY column that displays the Add/Remove Inventory pop-ups.
NOTE: This function does not support warehouse sub-locations inventory adjustments.
|
Step |
Action |
|
1 |
Click on either the + or - buttons to add or remove quantities. |
|
2 |
Enter the quantity, make any other updates to SKU and select a Reason code.
|
|
3 |
Click on Add/Remove Inventory button to save. |
Option 2: ![]()
The steps below detail how to add/remove additional quantities to In Stock inventory.
|
Step |
Action |
|
1 |
From the Inventory Manager, perform a search of the SKU. Click on the 
|
|
2 |
In the SKU header, click on the In Stock link. |
|
3 |
To remove additional In Stock inventory, click on the Remove Inventory (or Add New) link.
Tip: You can also click on the |
|
4 |
Select the appropriate warehouse from the Warehouse drop-down list and the current quantity will display. Enter the new quantity you want for that warehouse in the Quantity field.
Note: For Remove Quantity, the quantity you are entering in "New Amount" field is the new In Stock count, not how many you are subtracting from In Stock. |
|
5 |
You must select a reason for the removal. Click on the Select link next to the Reason field. Note: To add more Adjustment Reasons go to System Settings > Inventory Transaction Reasons Manager. |
|
6 |
Once all the information has been entered, click the Update button. |
|
7 |
The updated quantity is listed under the In Stock Inventory section.
|
There is an additional method to add/remove SKU quantities that displays directly from the SKU search results in the Inventory Manager. There is a plus (+) and minus (-) sign available next to the QTY column that displays the Add/Remove Inventory pop-ups. This is not visible by default but can be configured per a Support Portal request (Coresense staff will configure function to equal"false").
NOTE: this function does not support warehouse sub-locations inventory adjustments.

© 2023 CORESense · info@coresense.com · 125 High Rock Avenue, Saratoga Springs, NY 12866